This Lesson is copyrighted to the Tut Writer, � esamu2021 This Lesson may not be forwarded, shared or otherwise placed on any Web Site
without written permission from �Esamu.
This tutorial was create in Corel 16,
but can also made in the other Versions.
Plugins
MuRa's Filter Meister - Cloud
Xero - Porcelain
AFS IMPORT-sqborder2
Mehdi-Absolute Color
Flaming Pear-Flood
Preparation
Double click the. fls files to save to your Alien Skin Eye Candy 5 -Impack-Perspectve Shadow Presets
Download and extract to your Plugins folder
Donload supplies and extract to a file on your computer then open in PSP and minimise Drag the green button with you to mark your place in the tutorial
Materials Palette
Foreground#c4ccb5 Background#beb695
Let start
Step 1
File-New
Open New File 800x 600 white
Layers - Promote Background Layer
Foreground #ffffff, Background #c4ccb5
Foreground #FFFFFF Background #c4ccb5
Effects Pugins MuRa's Meister Cloud
Step 2
Maximize telitaj.pspimage Windows-Duplicate, close the original. Edit-Copy
Edit -Paste as New with the Move Tool, move to the top of to the right Layer
Layers Duplicate Image-Mirror
This what you should have
Step 3
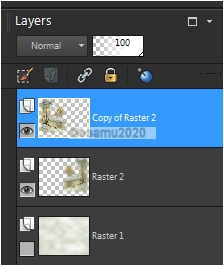
Copy of Raster1 and Raster2 and Raster 1 Merge down
Activate Raster 2
Layers-Prperties- Overlay
Open Raster1
Layers-Merge Down
Effects-Edge Effects-Enhance More
This what you should have
Maximize the hid.pspimage
Edit -Copy- Edit -Paste as New Layer
Layers-Properties-Opacity 44
Effects-Plugins Flaming Pear-Flood
Effects-Edge Effects-Enhance
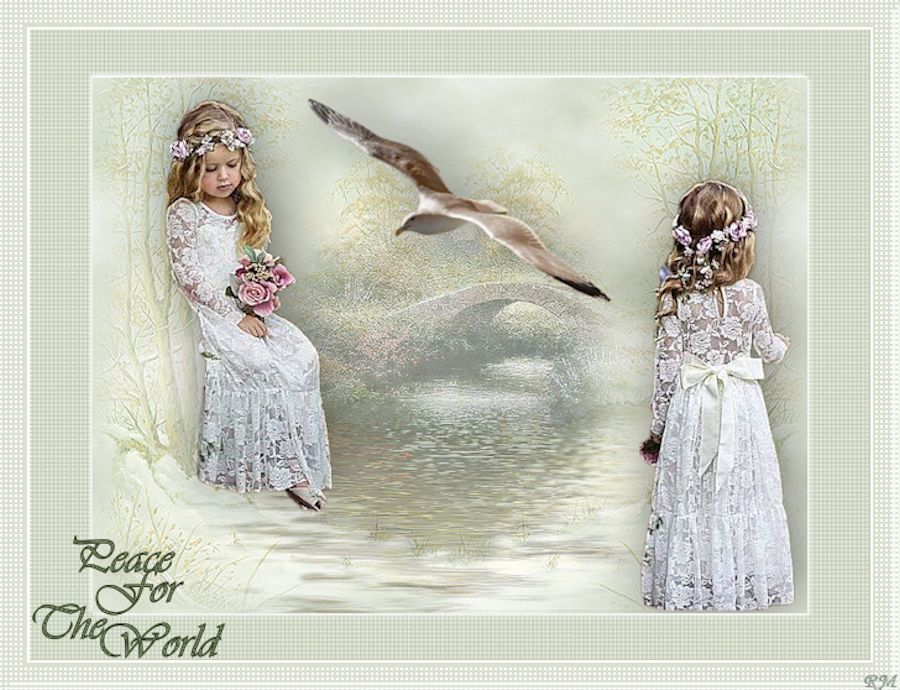
Maximize the peace.png image
Edit -Copy- Edit -Paste as New Layer
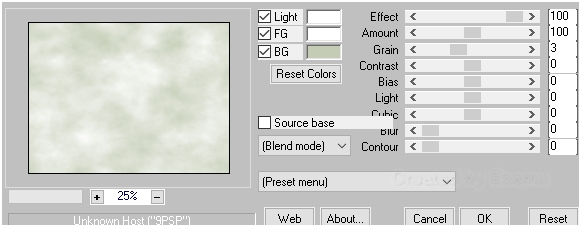
Effetcts-Plugins-Absolute Color
Effects-Image -Image Effects-Offset
Horizontal offset-10 Vertical offset 68
Step 4
Maximize the girl.png image
Edit -Copy-Edit Paste as New Layer
With the Move Tool move a little left up, as you see on my image.