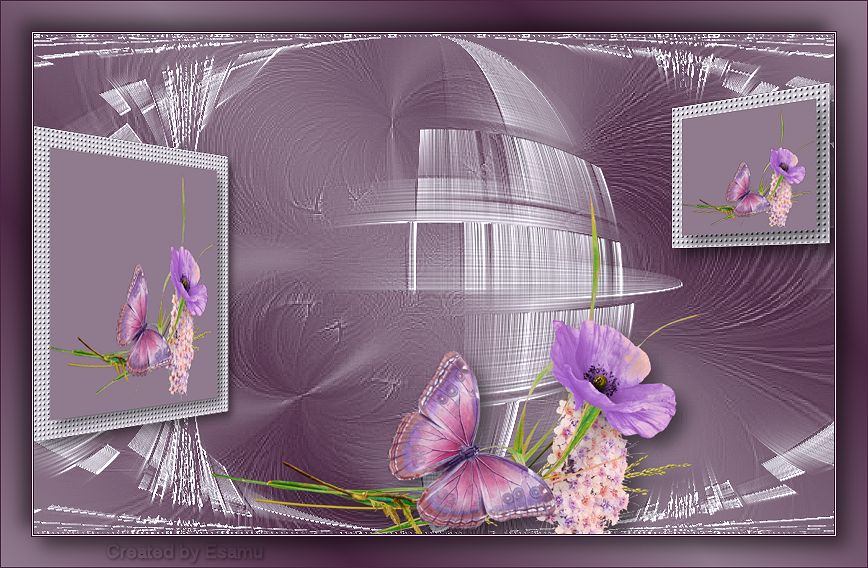
 Lilla dream
This Lesson is copyrighted to © esamu2023.
This Lesson may not be forwarded or shared or otherwise placed on any
Web Site without written permission from © esamu
This tutorial is my own design
and any resemblance to any other tutorial is purely coincidental.
It was created in PSPX6
Supplies:
0_b8fcb_a81db1ec_orig.png
1342769824_48.jpg Mask
13427669820_46.jpg Mask
Tube and the Masks are from the internet unknown to me.
Plugins:
MV's Plugins –Perspective Transformations
Toadis- Weaver
Emboss_3Emboss_3
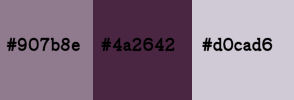
Colours I used
Foreground # 907b8e
Background# 4a2642
colour3#d0cad6
Preparation
Download the materials, open in PSP ..Window
Duplicate, minimize, close the original.
1.Step
Set your foreground color to # 907b8e
Set your background color to # 4a2642
Gradient
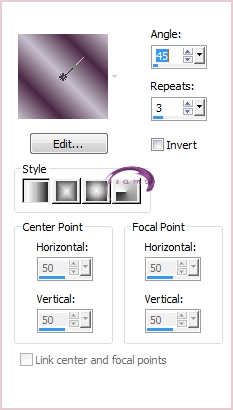
Angle 45
Repeats 3
Linear
Maximize the lilaalpha.pspimage
Flood fill with Gradient
Adjust…Blur…Gaussian blur 35
2.Step
Layers:New Raster Layer
Flood fill with colour3#d0cad6
Layers:New Mask Layer:From Image
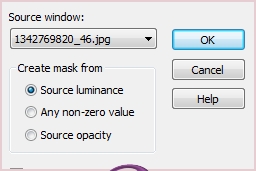
Layers Merge Group
Effects:Edge Effects.Enhance
3.Step
Layers:New Raster Layer
Flood fill with #d0cad6
Layers:New Mask Layer:From Image
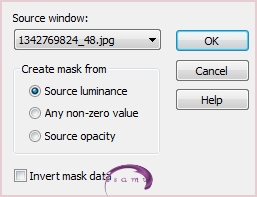
Layers Merge Group
Effects:Texture Effects:Canvas
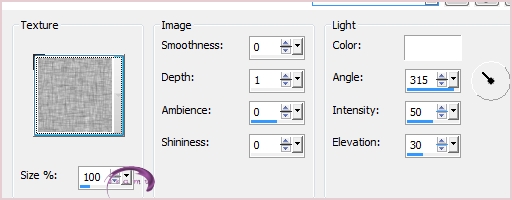
4.Step
Effects :Plugins –Toadis…Weaver Effects…Edge Effects… Enhance

Effects:Geometric Effect:Circle…Wrap
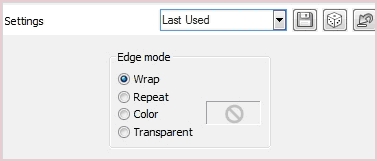
Effects:Edge Effects:User Defined 3Emboss_3
5.Step
Layers:New Raster Layer
Selections:Load/Save Selection:Load Selection From Alpha Channel
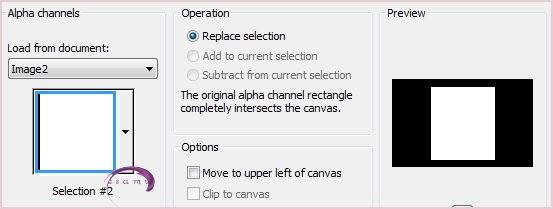
Flood Fill with #d0cad6 color
Effects Effects:Texture GirdSelections…Modify…Contract 25
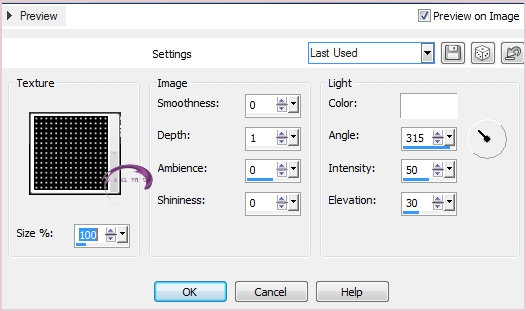
Selections:Modify:Contract 25
Layers New Raster Layer
Flood fill with #907b8e color
Maximize the0_b8fcb_a81db1ec_orig.png image
Edit:Copy:Paste Into Selection
Effects 3D Effects:Drop Shadow
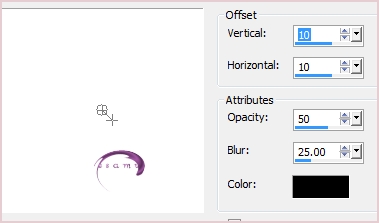
Selections:Select None
Activate the Raster 2
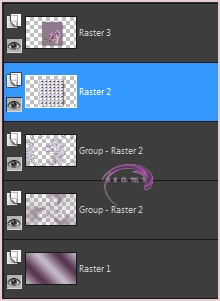
Repeat the Drop Shadow, same settings
Merge Down Raster 3 and Raster2
6.Step
Effects:Plugins MV's Plugins – Perspective Transformations
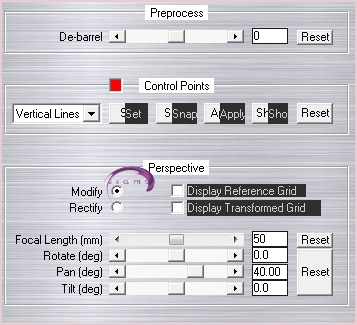
Image:Resize 90% All Layers not checked
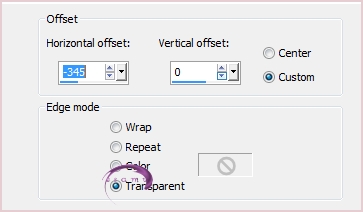
Effects:Image Effects:Offset Horizonta –345.Vertical :0
7.Step
Layers:New Raster Layer
Selections… Selections…
Load/Save Selection…Load Selection From Alpha Channel
Selection #1
Flood fill with #d0cad6 color
Effects Effects…Texture Gird…same settings
Selections:Modify:Contract 15
Layers:New Raster Layer
Flood fill with #907b8ecolor
Edit..Copy…Paste Into Selection the 0_b8fcb_a81db1ec_orig.png image
Effects 3D Effects:Drop Shadow
Selections…Select None
Activate the Raster 3
Repeat the Drop Shadow, same settings
Merge Down Raster 4 and Raster3
Effects..Plugins MV's Plugins – Perspective Transformations
Sett the Pano to: - 40.00
Effects:Image Effects:Offset 217 Vertical…0
8.Step
Edit Copy:Paste as a New Layer the 0_b8fcb_a81db1ec_orig.png image
Pick Tool

Add Drop Shadow same settings
9.Step
Layers Merge All (Flatten)
Image: Add Borders
Add Borders 1 pix #4a2642
Add Borders 1 pix #d0cad6
Add Borders 1 pix #4a2642
Selections: Select All
Add Borders 30 pix White color
Selections :Invert Flood fill with Gradient
Selections :Invert
Effects: Drop Shadow same settings
Repeat Drop Shadow -10
Selections … Select All
Add Borders 1 pix #4a2642
Selections.Select None
New Raster Layer Add your watermark
Layers Merge All (Flatten)
File… Export JEPG Optimizer compression 20


 eddatutorials 2023
All Rights Reserved
Designed and Maintained by Etelka Samu
| | | | |