| Love
This Lesson is my own creation, may not be forwarded ,shared or otherwise placed on any Web Site without my written permission.This Lesson was created in Corel PaintShop Pro2020, but also can be made in othrer Version. Material used
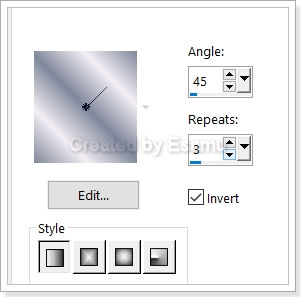
angyal,o14.png brushgrad.pspimage love.pspimage loveatfirstsite.pspimage rozsa.pspimge swatch.jpg wickedmask.jpg angyal_ 014.png image is from Lady.hu .Thank you Lady.huMask and the lowewords is from the internet. Preparation Download Supplies and extract to your file on your computer,then open i PSP and Window ... Duplicate close the original.Minimize for now Foreground #f3eef4 Background #80889b Change Foreground to Gradient- Foreground-background Linear, Angle :45,Repeat 3 Invert checked
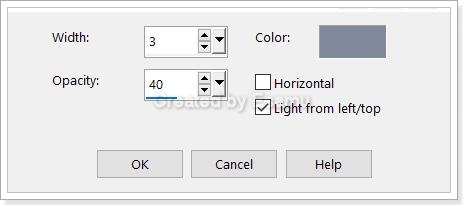
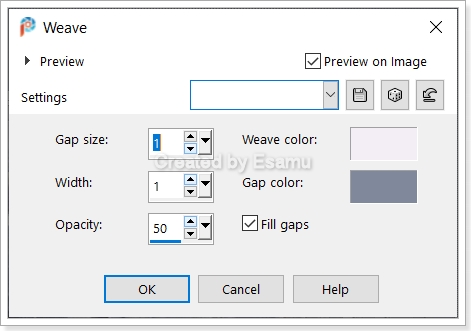
Maximize the love.pspimage Step 1 Flood Fill Tool flood fill with Gradient Step 2 Adjust-Blur -Gaussian Blur : 30 Step 3 Effects -Texture Effects -Blinds
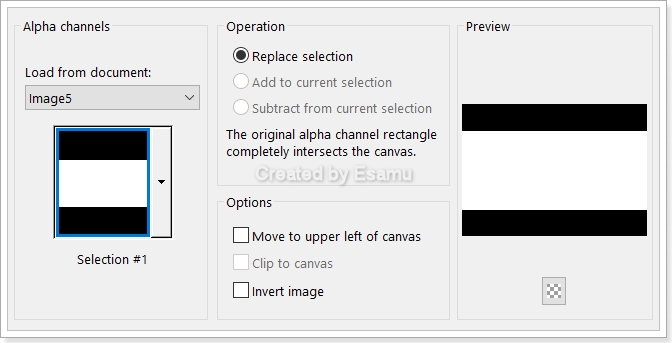
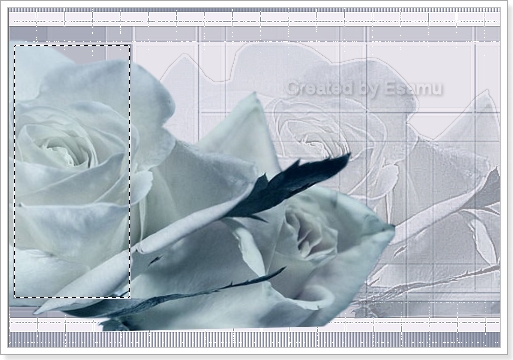
Step 4 Effects-Edge Effects-Enhance Step 5 Layers -New Raster Layer Selections-Load -Save Selections -Load Selections From Alpha Chanel Selection 1
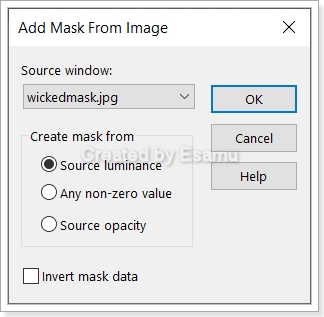
Flood Fill Tool -flood with Background Colour Step 6 Layers-New Raster Layer Flood Fill Tool flood with Foreground Step 7 Select None Step 8 Layers -New Mask Layer From Image
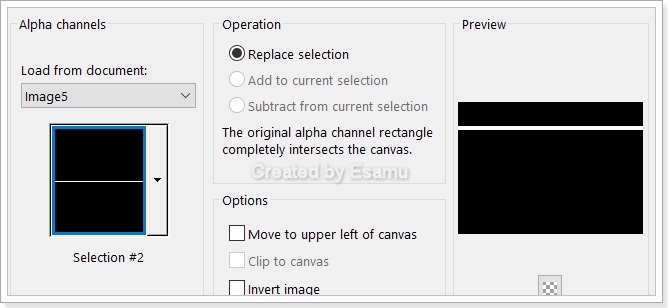
Layers -Merge Group Step 9 Layers -New Raster Layer Selections-Load -Save Selections -Load Selections From Alpha Chanel Selection 2
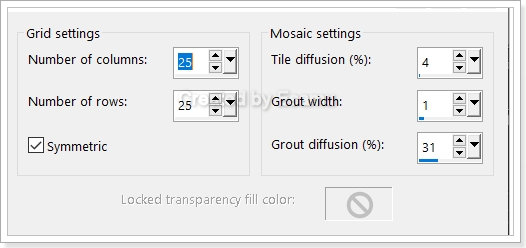
Flood Fill Tool flood with Foreground Select None Step 10 Effects- Texture -Effects-Mosaic Antique
Effects-Edge-Effects-Enhance Step 11 Layers -Duplicate Step 12 Image- Mirror Image Flip Step 13 Layers Merge Down Step 14 Maximize the rozsa.pspimage Edit.. Copy ..Edit Paste As New Layer Step 15 Pick Tool Hold Shift Key Move the rose to the middle
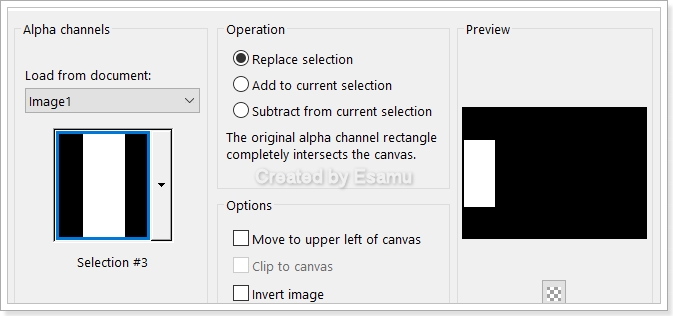
Step 16 Layers Properties Blend Mode : Multiply ,Opacity : 38 Step 17 Effects Edge Effeects-Enhance More Step 18 Layers New Raster Layer Selections-Load -Save Selections -Load Selections From Alpha Chanel Selection 3
Step 19 Layers New Raster Layer Flood Fill Tool flood with Gradient Selections-Modify-Contract 2 pix
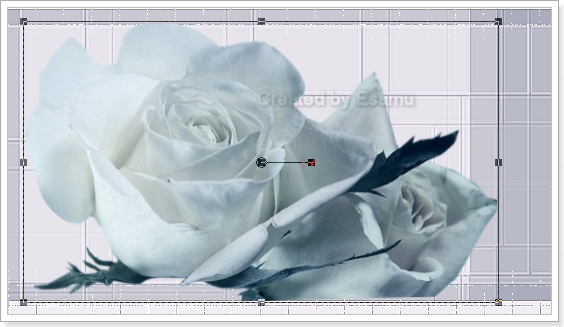
Edit Cut Step 20 Edit Copy... Edit Paste the rozsa.psp.image As New Layer Step 21 Pick Tool Move it in to Selection
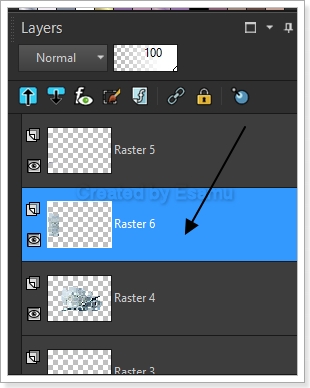
Step 22
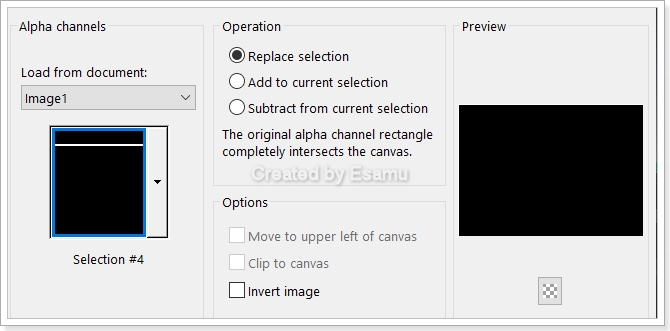
Selections-Invert -Edit Cut Selections Select None Layers Properties -Blend Mode Luminance L ,Opacity : 40 Step 23 Effects -Eddge Effects -Enhance More Step 24 Raster 5 and Raster 6 Merge Down Step 25 Maximize the angyal_014.png image Edit -Copy- Edit Paste As New Layer Step 26 Maximize the bruscgrad.pspimage Edit- Copy- Edit -Paste As New Layer Pick Tool...move it to the Right side Step 27 Maximize the lovewords.png.Image Edit-CopyEdit -Paste As New Layer Move it up on your image Step 28 Layers New Raster Layer Selections-Load -Save Selections -Load Selections From Alpha Chanel Selection 4
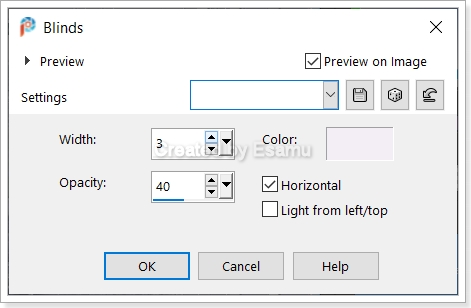
Step 29 Flood Fill Tool- flood fill with Background Colour Step 30 Effects -Texture-Effects-Blinds
Foreground Colour Selections- Select None Step 31 Selections -Select All Image Add Borders...20 Symmetric White Color Selections.. Invert Flood Fill Tool... flood fill with Gradient Step 32 Effects - Texture Effects---Wave
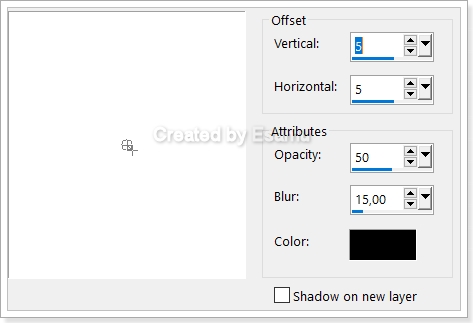
Selections---Invert Effects-3D Effects-Drop Shadow
Repeat -5 Selections Select None Image -Resize Width 900 pix New Layer ...Add your Watermark Merge All (Flatten) File...Export..JEPG Optimizer value 20 All Rights Reserved Designed and Maintained Etelka Samu Your Version Wendy
Bonnie
Marika Rabosi
Margit
Marcsi
|


.jpg)