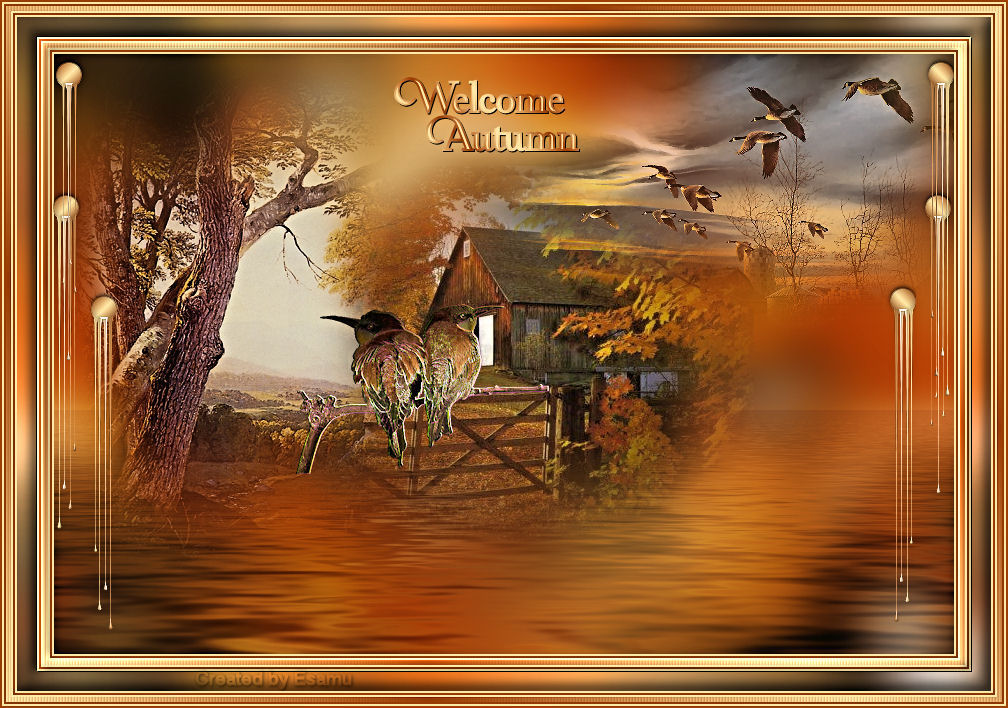
 Welcome Autumn
This Lesson is my own creation This lesson may not be forwarded.
Shared or otherwise placed on any Web Site without my written permission
This Lesson was created in Corel X6 Program
but also can made in the other Versions

Supplies
b7.png
boomvallei.png
fall.pspimage
gomb.png
tajkepek19.png
Foreground.jpg
Background.jpg
autumn.fls
text.png
fall.pspimage and the gomb.
png is my own creation,
the other images are from the sharing Group

Filters
Eye Candy 5.Nature.Drip
Flaming Pear. Flood
Materials Pallet
Foreground #ffe8a5
Background: #a94305
Prepparation
Download Supplies and extract to your file on your computer
then open in PSP and minimize,double click on autumn.fls Preset
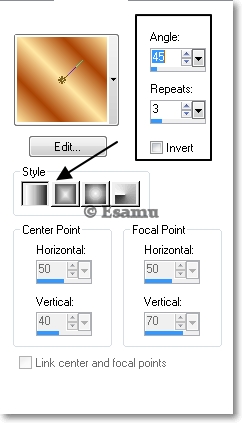
Set your foreground color to a Foreground/Background Gradient,
style Linear,Angle 45, Repeats 3

Step.1
File…New
Open.. 900x 600 pixels Transparent Image
Flood Fill with Gradient
Selections :Select All
Layers: New Raster Layer
Maximize the fall.pspimage, Edit:Copy…Paste
Into Selection:Minimize for now.
Selections: Select None
Step.2
Effects :Image Effects…Seamless Tiling
Default settings.
Step.3
Layers: Merge Down
Adjust Blur..Gaussian BlurRadius 22
Step.4
Edit..Copy the fall.pspimsge,Paste As New Layer.
Adjust..Sharpness…Sharpen
Step.5
Edit..Copy the boomvallei.png image, Paste As new Layer
Pick Tool

PivotX:176.00,PivotY:248.00,
Position X: -4.00,Position Y:-2.00
Step.6
Edit…Copy a tajkepek19.pspimage,Paste As New Layer
Pick Tool

PivotX:668.50, PivotY:104.01
PositionX: 381.00, PositionY:-28.00
Step.7
Edit..Copy a b7.png Image
Paste As New Layer
Image..Resize 45%,resize all layers not checked
Pick Tool

PivotX:254.00,PivotY:344.50,
PositionY:218.00,Position Y:255.00
Step.8
Activate the Raster1
Layers…Duplicate
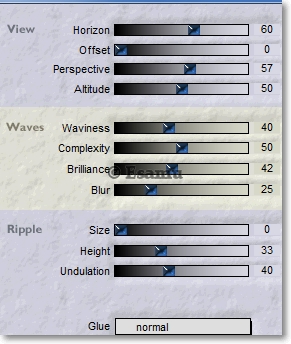
Effects..Plugins …Flaming Pear..Flood
Layers..Properties …Soft Light
Step.10
Copy Raster1
Paste AS new Image, we will use it later
Layers .. Merge All(Flatten)
Step.11
Image Add Borders ..2pixel Foreground color
Image Add Borders ..2pixel Background color
Image Add Borders ..2pixel Foreground color
Step.12
Selections..Select All
Image Add Borders.. 5pixel white color
Selections.. Invert
Flood Fill with Gradient
Effects..Texture Effects.. Blinds
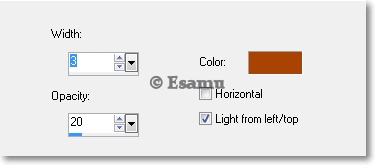
Selections... Select None
Step.13
Image..Borders ..2pixel Foreground color
Image Add Borders ..2pixel Background color
Image Add Borders ..2pixel Foreground color
Step.14
Selections..Select All... Modify.. Contract..13
Invert
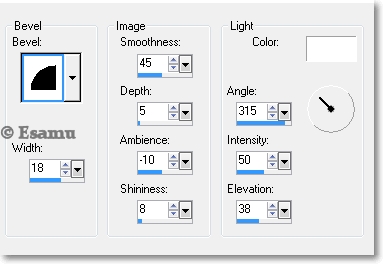
Effects..Inner Bevel
Step.15
Selections.. Select All
Image..Add Borders ..20pixel Foreground color
Invert
Edit Copy the Raster1.jpg Image
Effects..Inner Bevel
Same Settings
Selections...Select None
Step.16
Image Add Borders..2pixel Foreground color
Image Add Borders ..2pixel Background color
Image Add Borders ..2pixel Foreground color
Step.17
Selections..Select All
Image Add Borders.. 5pixel white color
Selections.. Invert
Flood Fill with Gradient
Effects..Texture Effects.. Blinds
Same Settings
Selections... Select None
Borders ..2pixel Foreground color
Image Add Borders ..2pixel Background color
Image Add Borders ..2pixel Foreground color
Step.18
Edit..Copy the gomb.png Image
Move up to the left corner
Effects.. Eye Candy 5.Nature.Drip
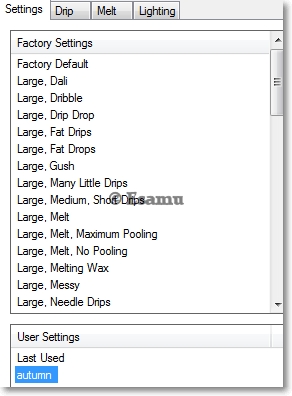
Click on autumn.fls
Step.19
Layers.. Duplicate
Move it down a bit to right
Layers Duplicate
Move down this one too, as you can see on my image
Layers Merge Down twice
Layers Duplicate
Step.20
Image .Mirror
Layers Merge Down
Adjust Sharpness Sharpen
Edit copy the text.png,
Paste As New Layer place it where you like.
Drop Shsdow
V.H.1, Opacity 80, Blur 00, Black.
Merge All(Flatten)
Adjust Sharpen
Image Resize 900 pixel All Layers checked
File Export..JPEG Optimizer
Thank you for testing
![]()


![]()


Anne

Maria

Anja

 eddatutorials 2023
All Rights Reserved
Designed and Maintained by Etelka Samu
eddatutorials 2023
All Rights Reserved
Designed and Maintained by Etelka Samu
|
|
|
|
|